Jitsi - MOCA
To create Jitsi Live Class you must perform the following steps:
IMPORTANT: For Jitsi to work correctly, allowing access to screen sharing, microphone and camera, MOCA must have an SSL certificate (SSL).
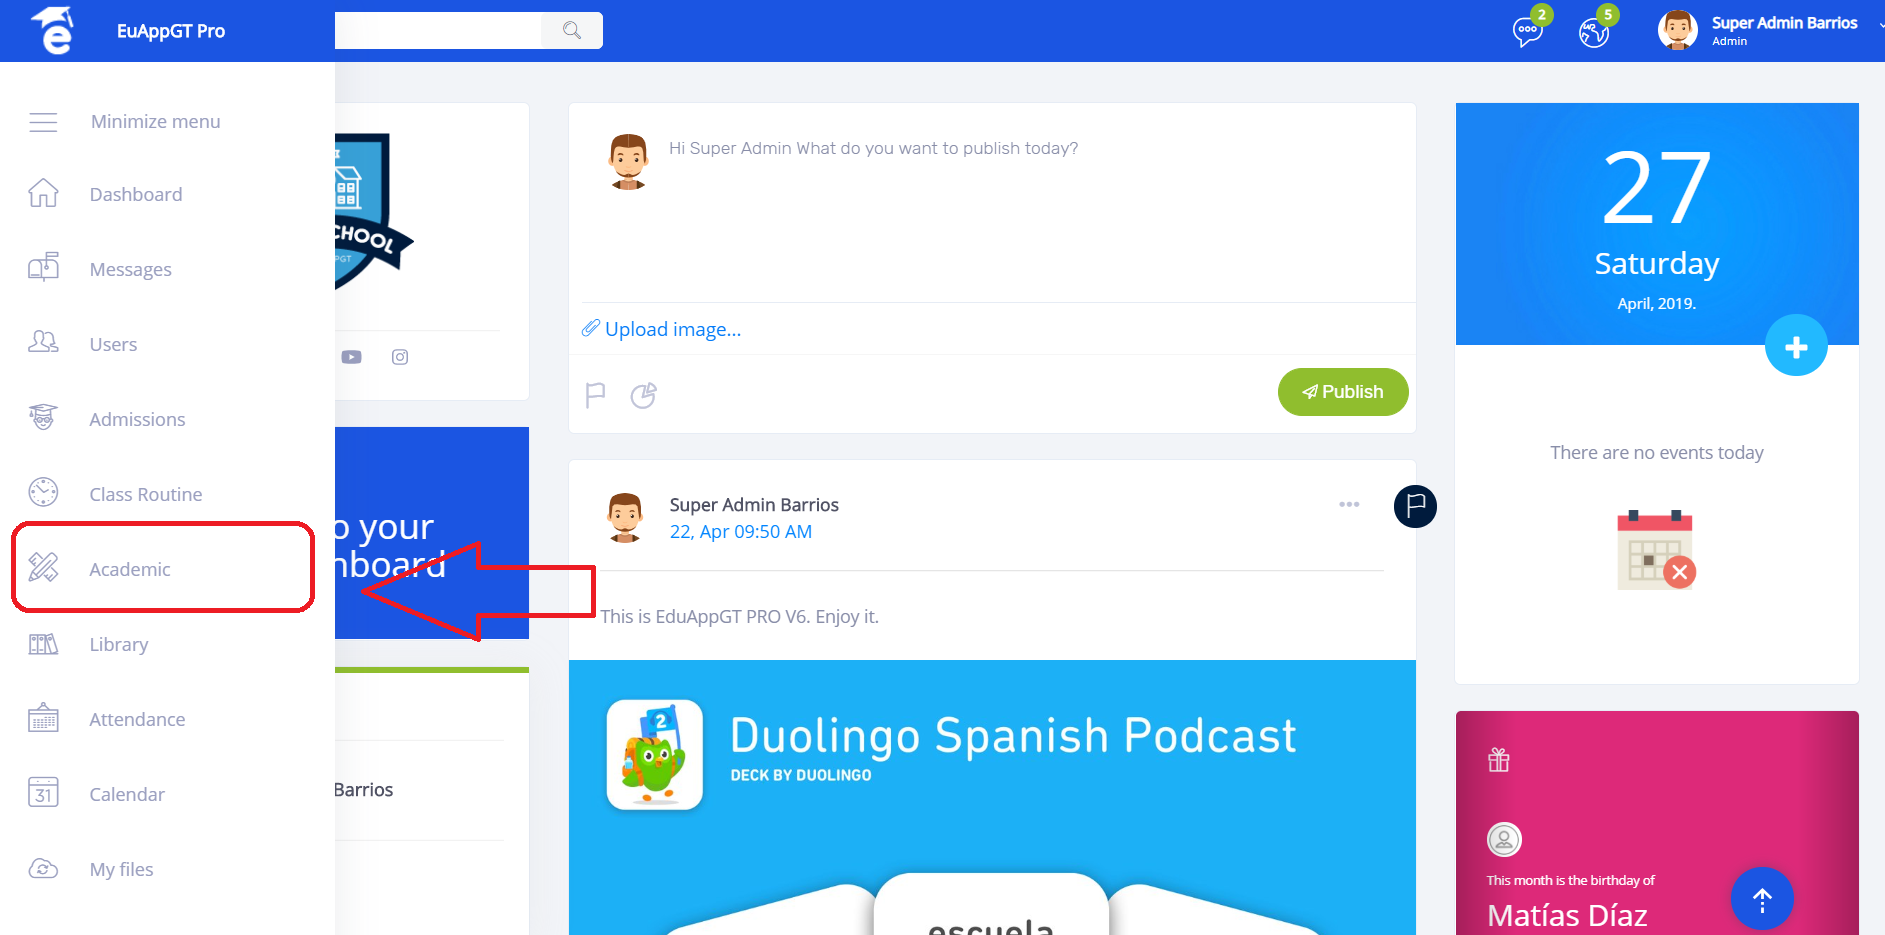
* Go to Academic in the navigation menu.
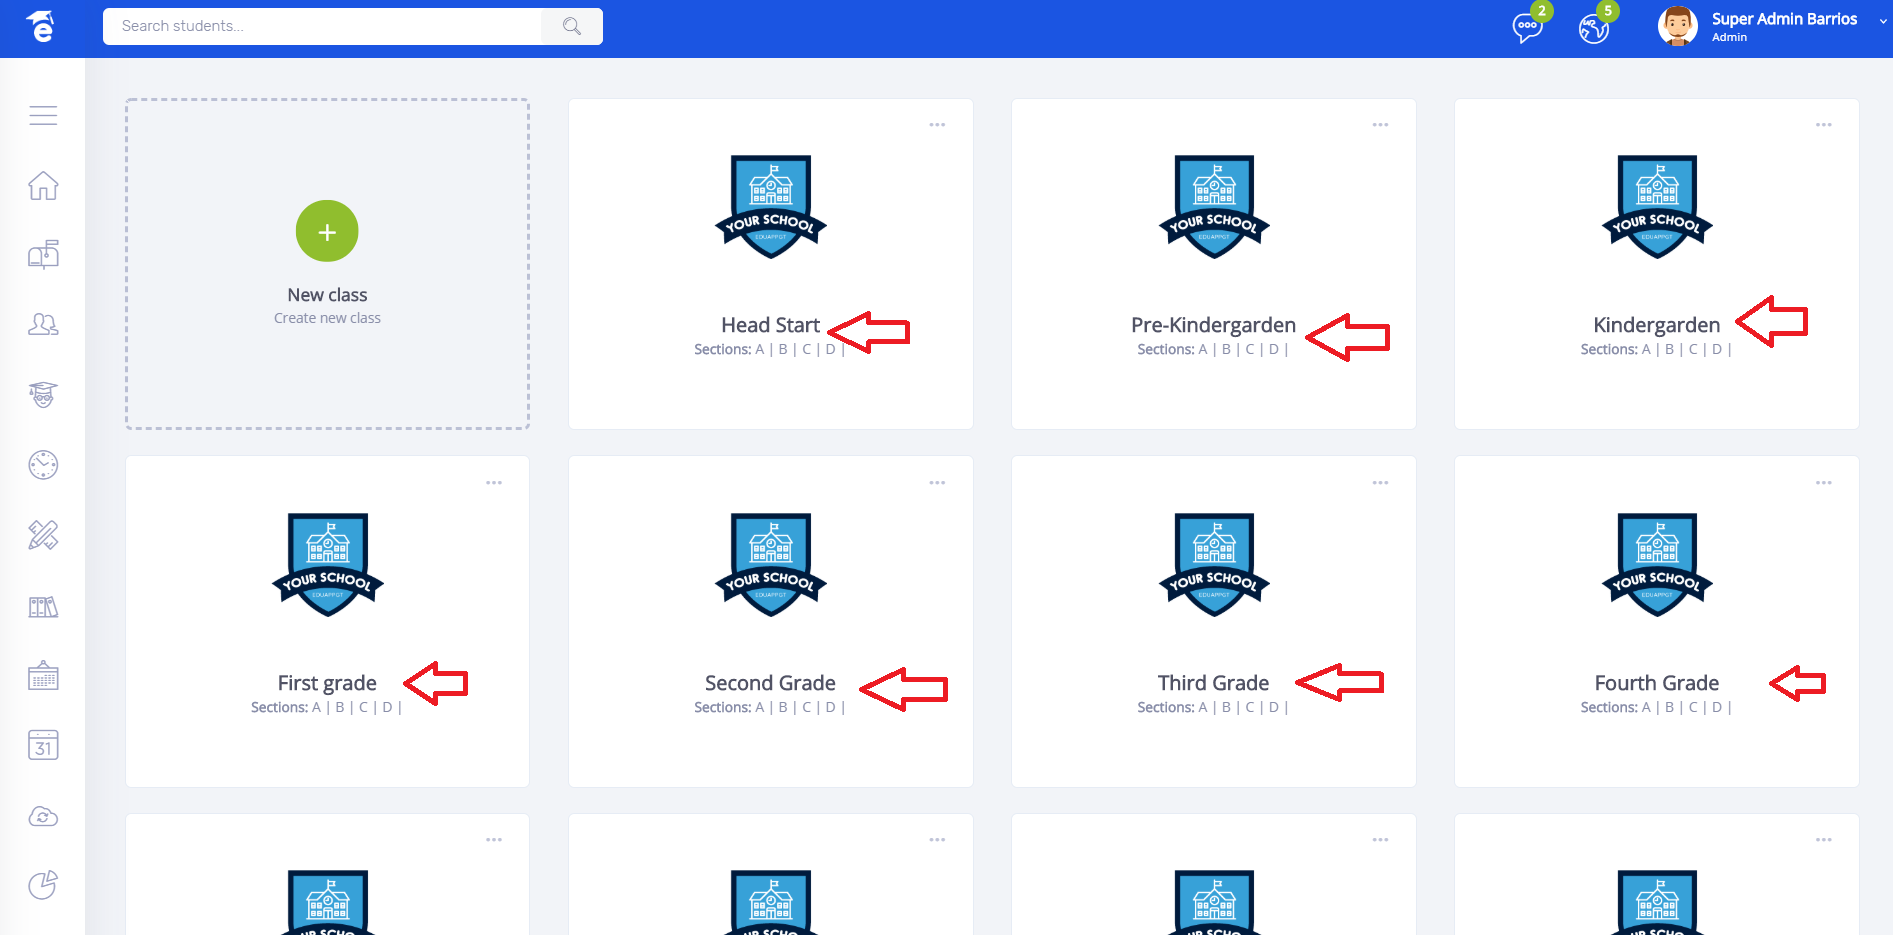
* Now click on the class you want to view subject dashboard.
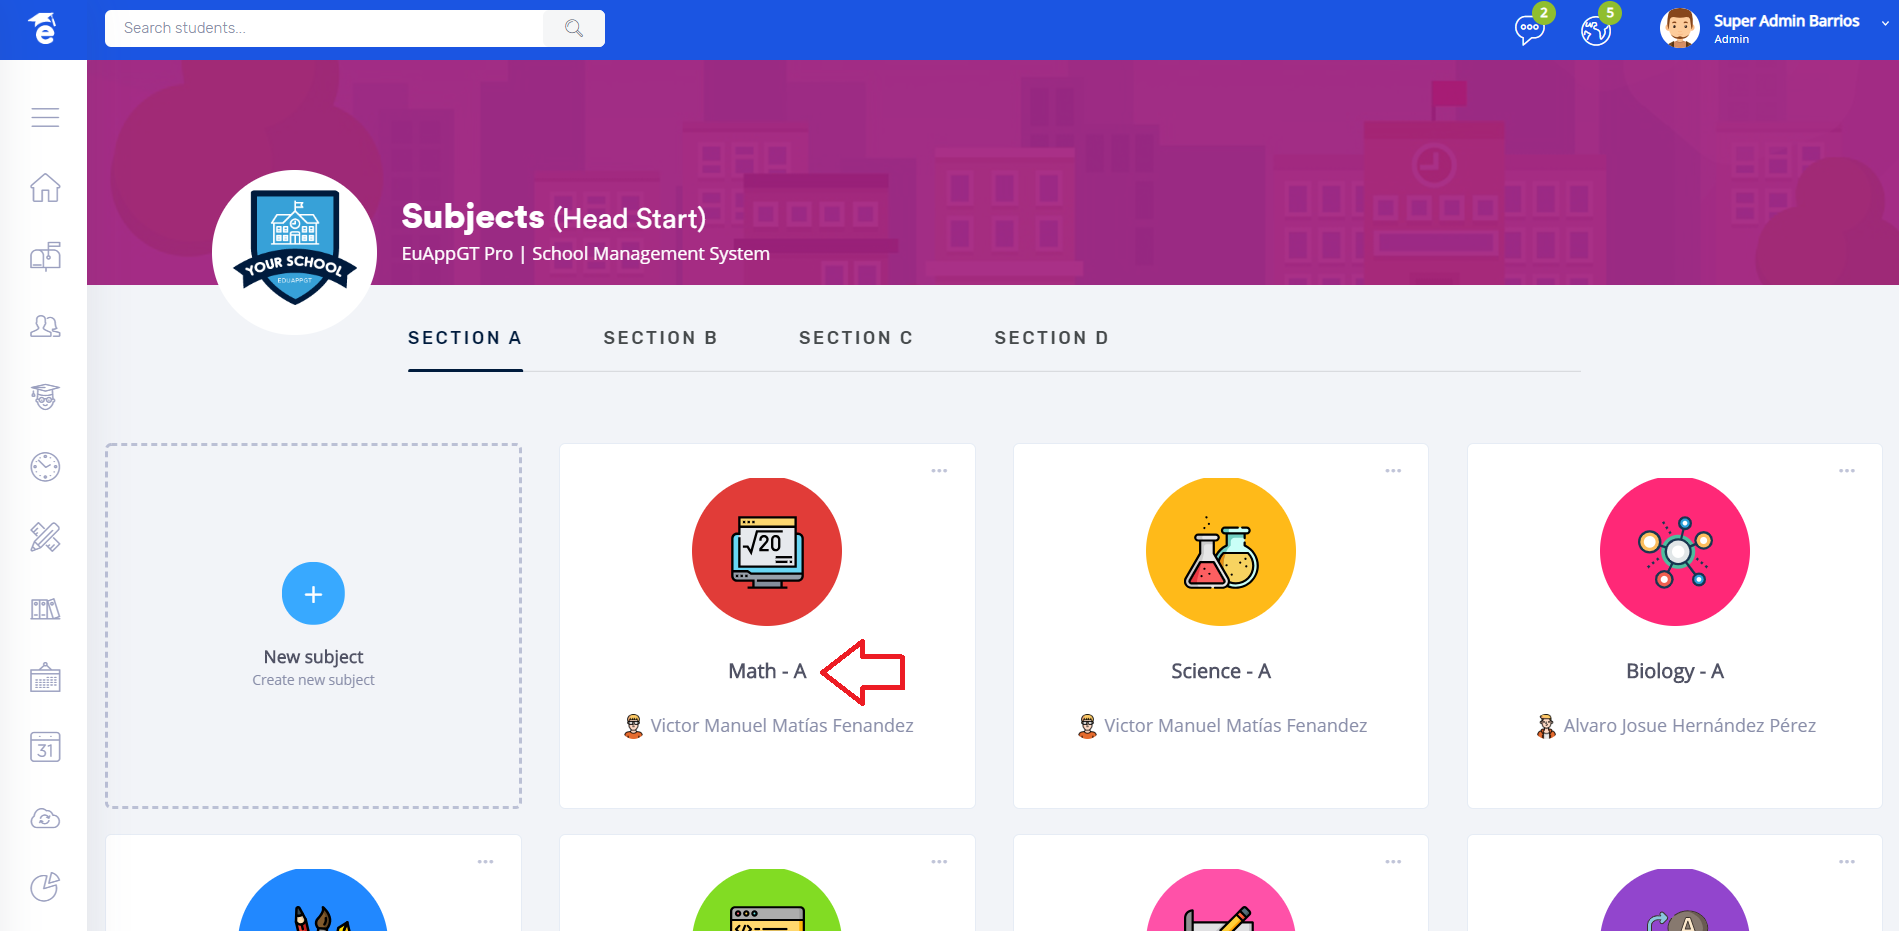
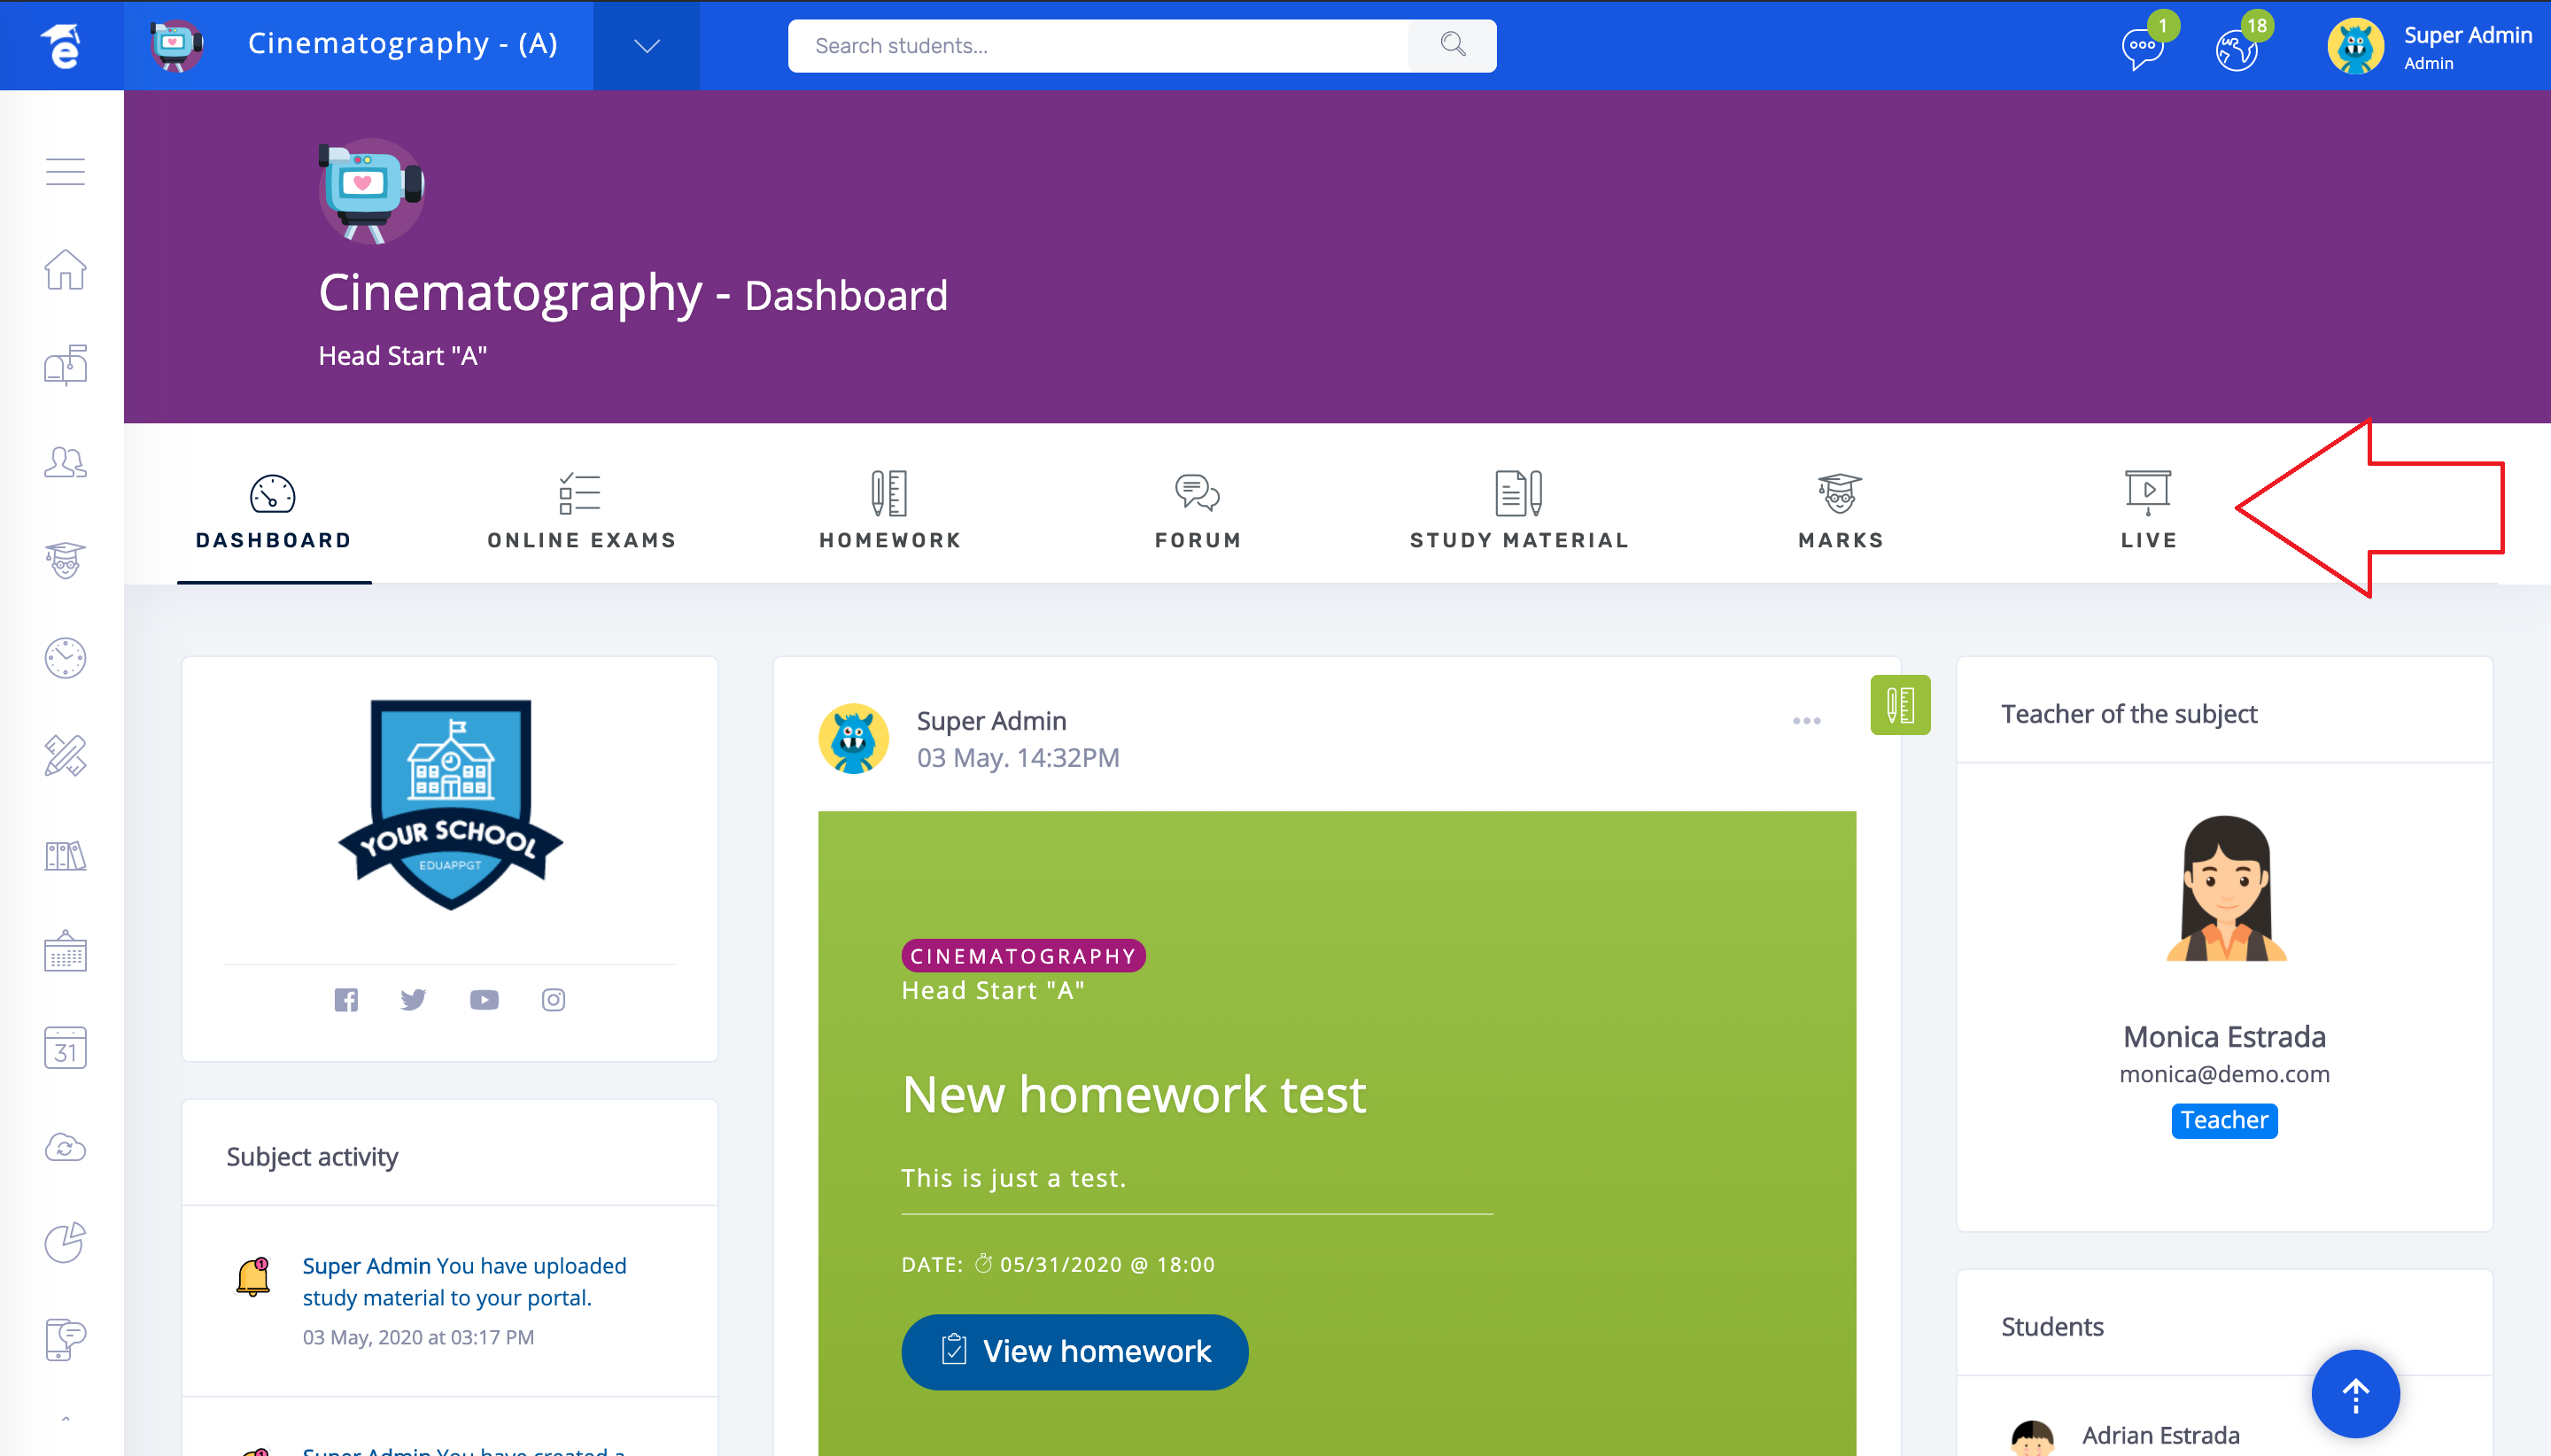
Now click on the name of the subject you wish to access.
Now click on Live button.
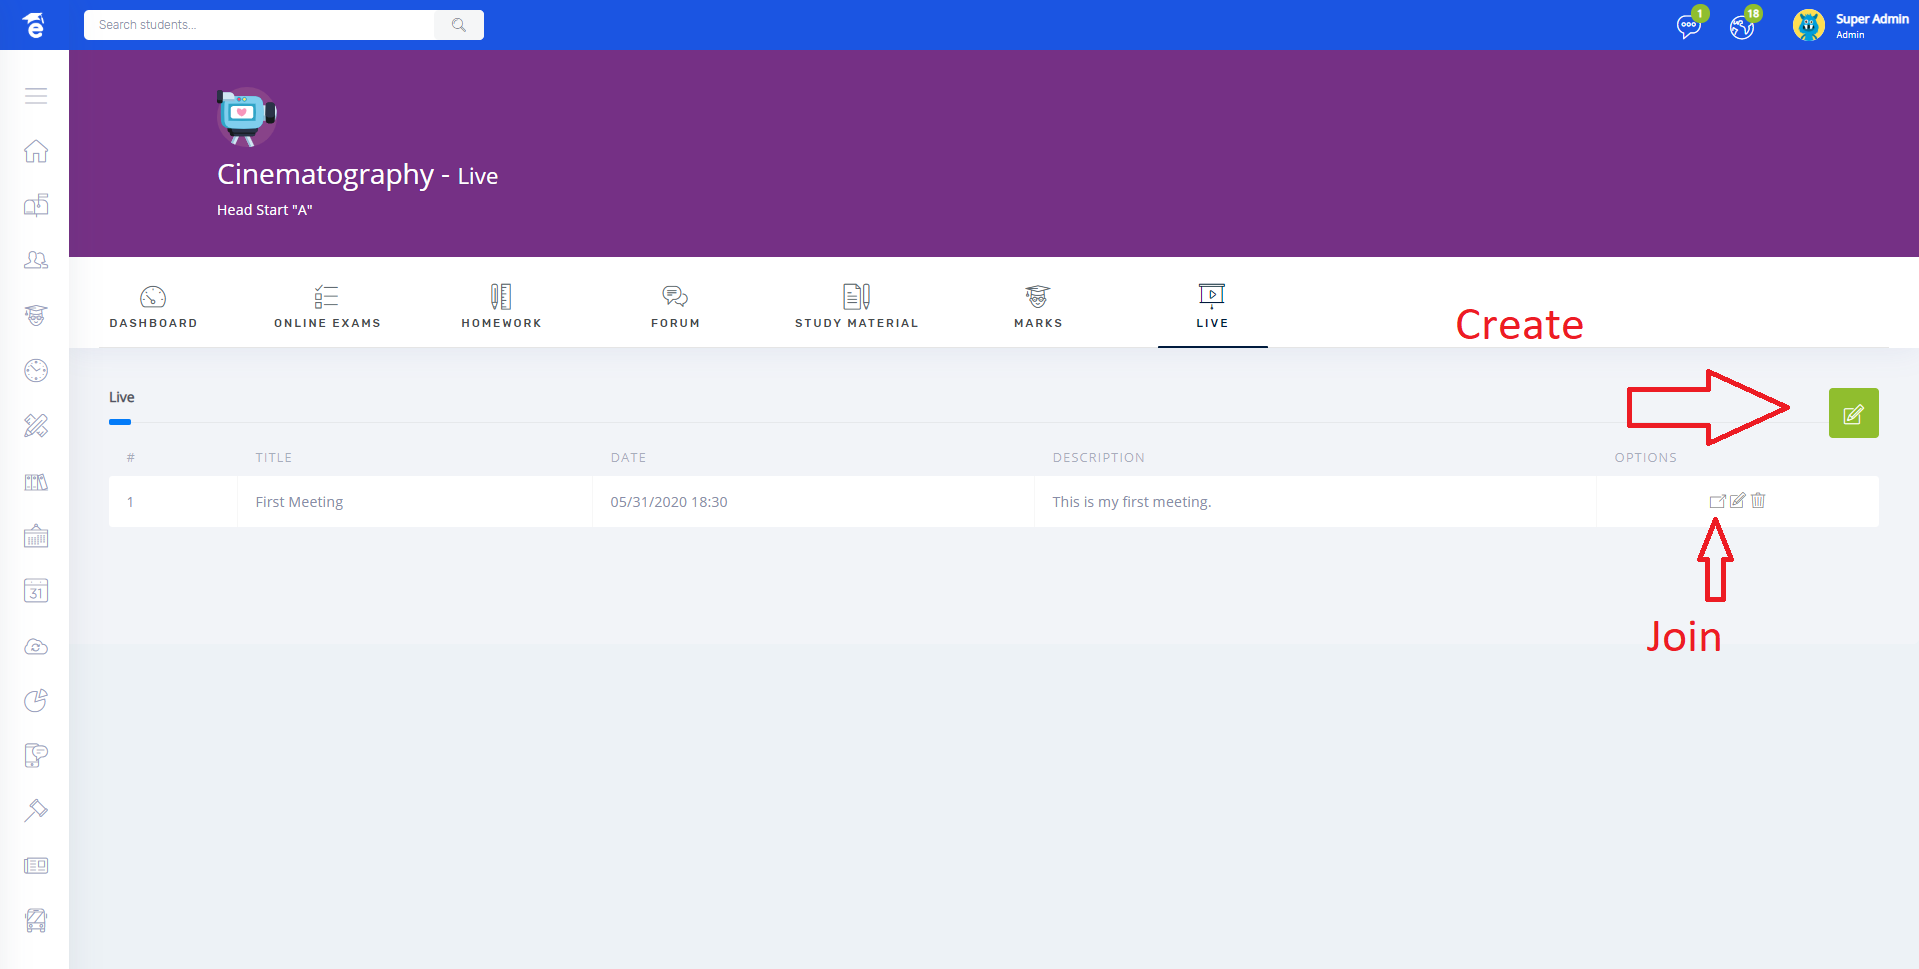
To create a new conference click on the green button, fill in the fields and you're done. To join one click on the first icon in the table options.
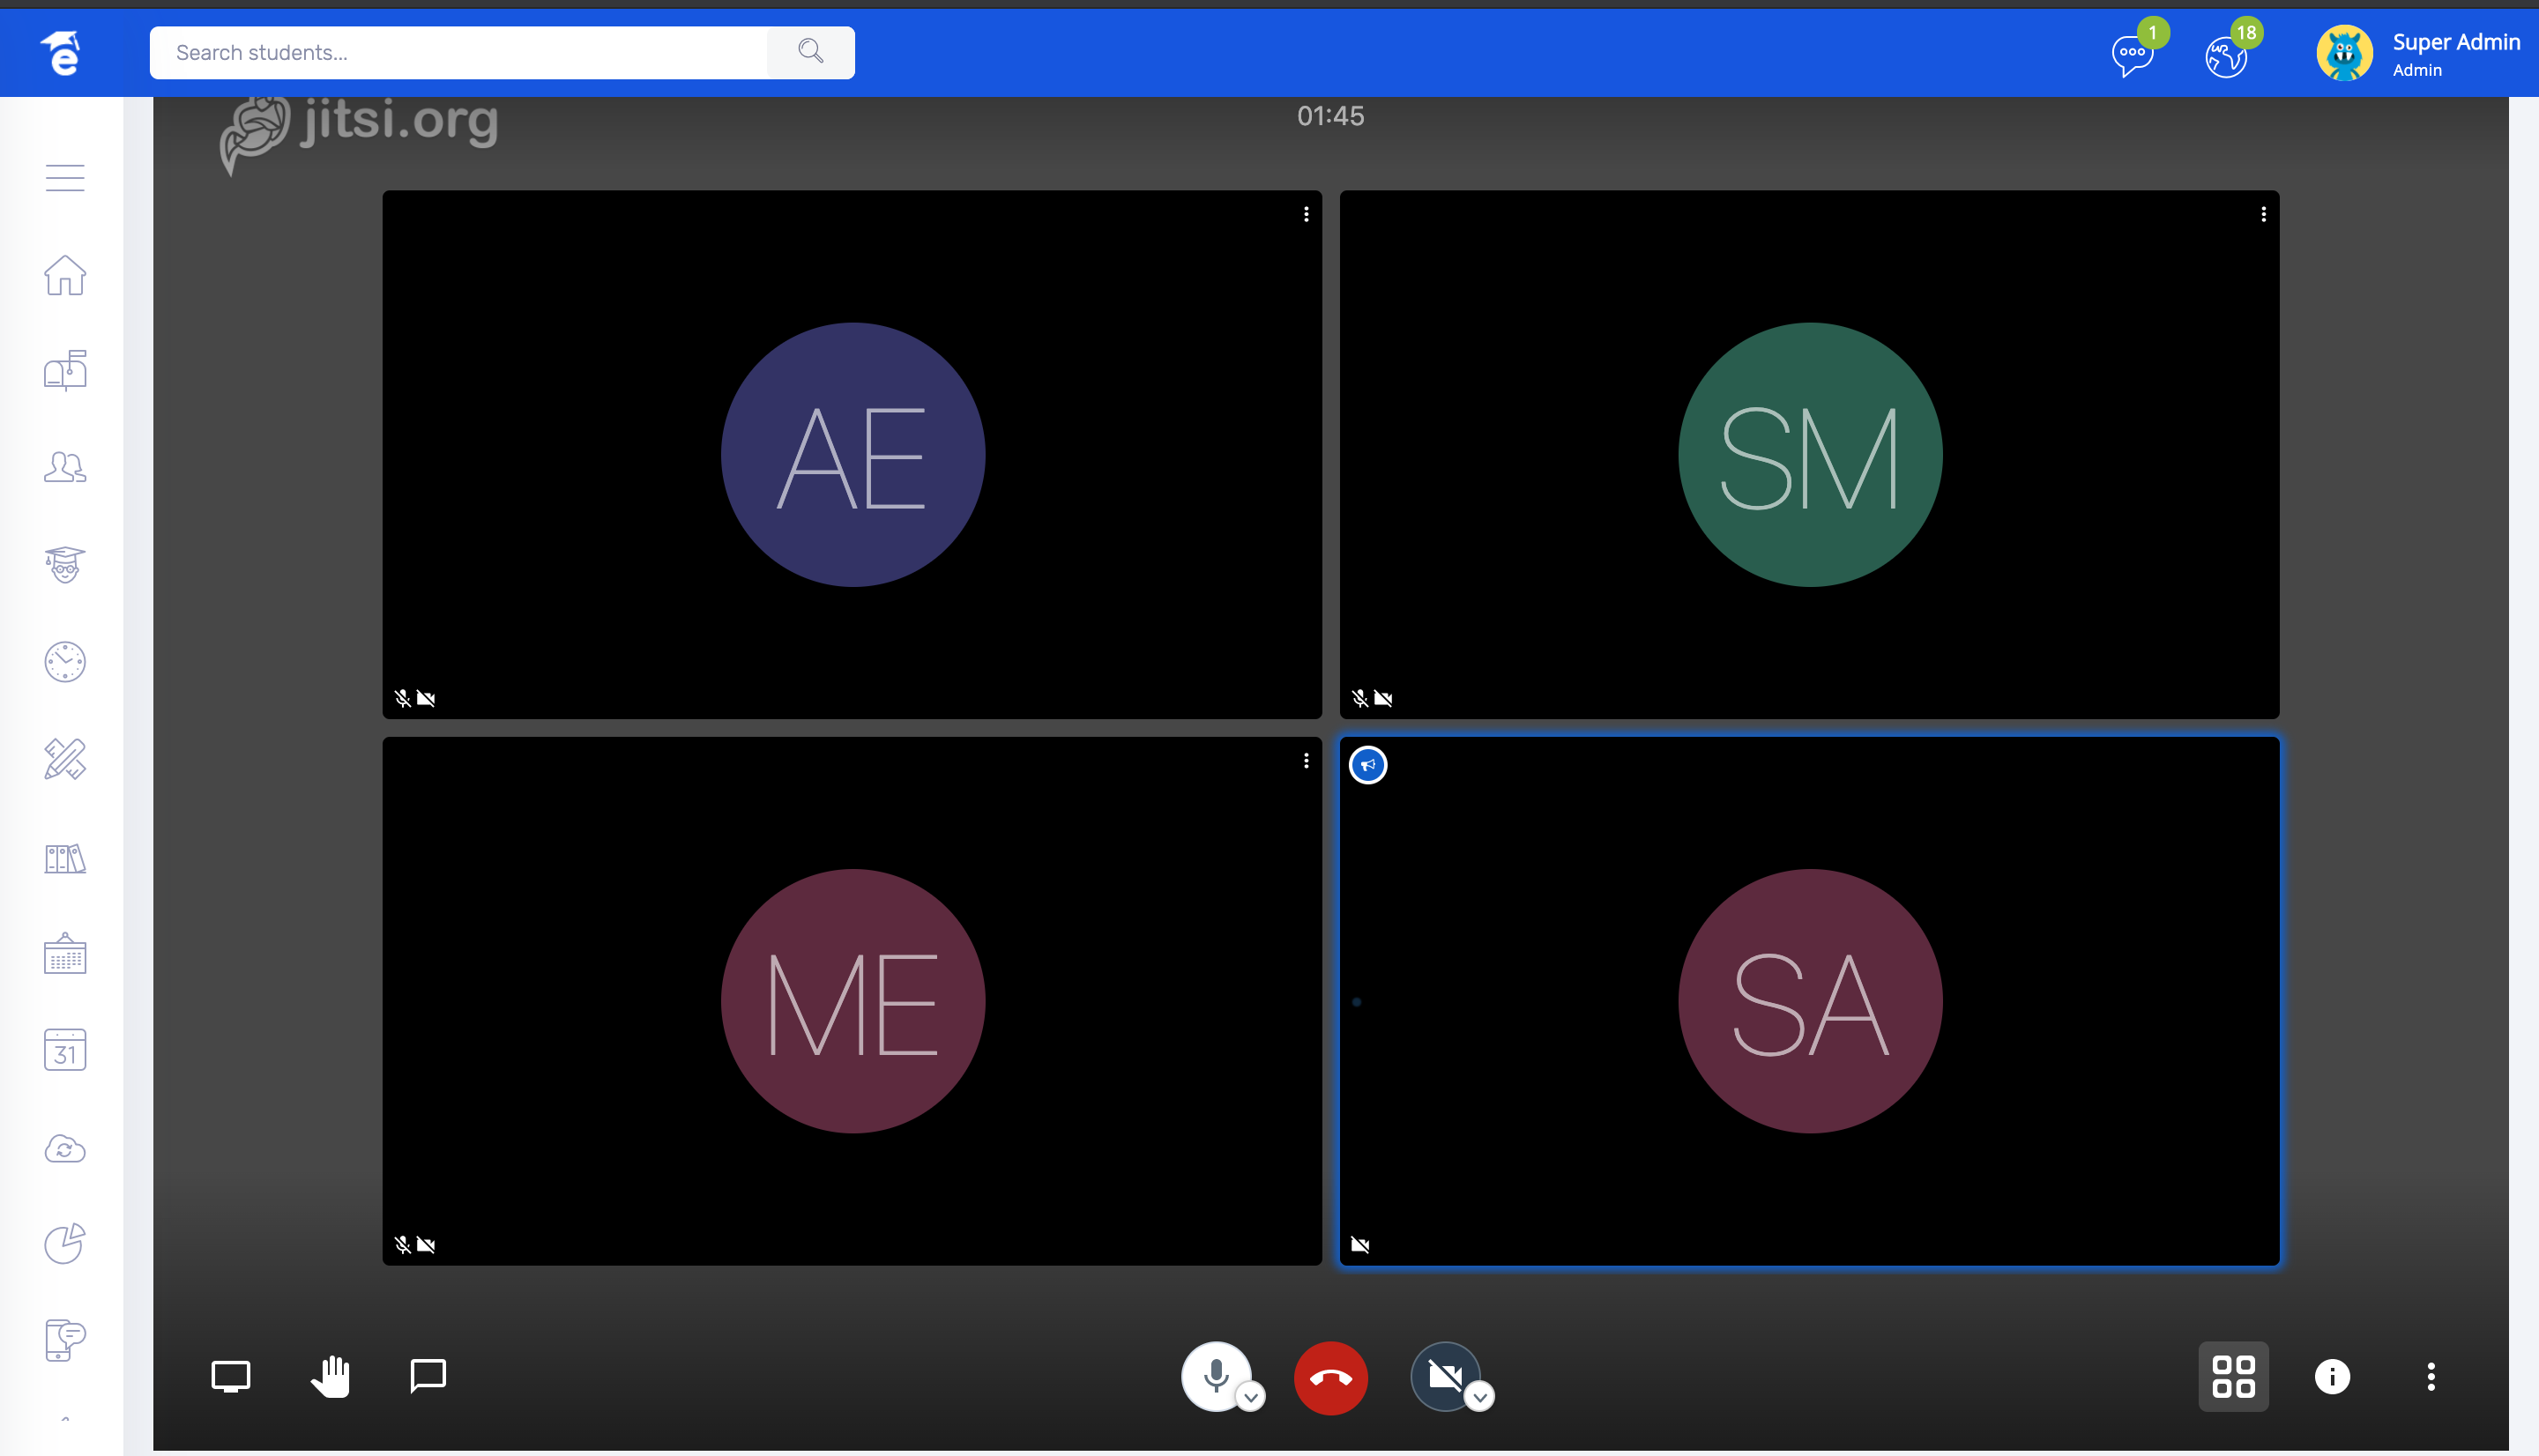
Now you are ready for the conference, students and teachers can access it in the same way in their profiles.